AREDN on Proxmox
Summary
We’re going to create a VM on Proxmox and use an AREDN x86 image as the boot disk. To do this we’ll first create a normal, import the AREDN disk image, and then boot the VM.
Steps
Step 1: Create a VM
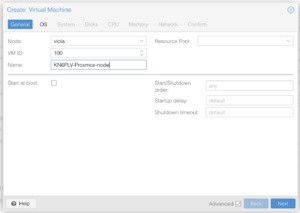
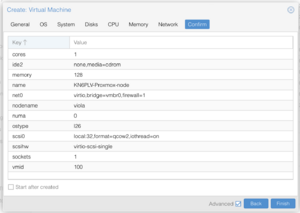
First create a VM by using the normal Proxmox Create VM UI. Pick a name for your node, not forgetting to include your callsign at the beginning as usual.
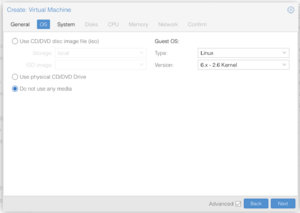
We’re not going to install AREDN from an install image, so here we just picked “Do not use any media”.
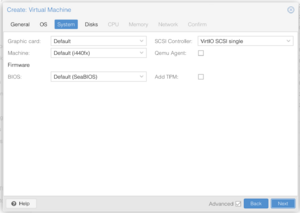
For the system, we just use the defaults.
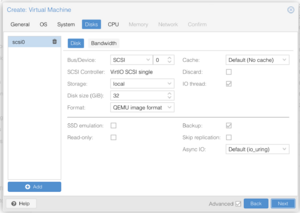
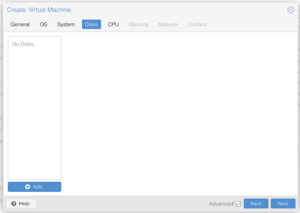
We’re not going to use the default disk (we’ll add our own later) so hit the trash icon next to “scsi0” on the top/left to remove it.
It will look like this when you’re done.
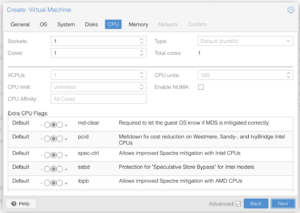
You can leave the CPU as the default.
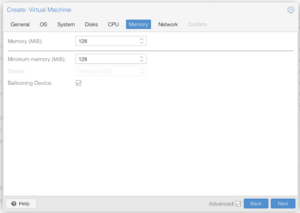
For memory you won’t want anything like as much as the default. 128MB is plenty.
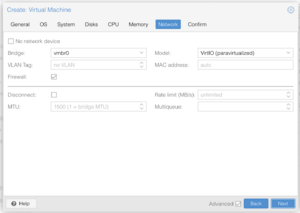
Networking can be left with the defaults. Later you might want to change these, but I’m going to assume you know what you’re doing if you’re changing VLAN tags.
Finally hit Finish and you’re done with the first step.
Step 2: Adding the AREDN boot image
The next step needs to be completed from the command line, so log into your Proxmox server.
Download the AREDN x86 boot image from the AREDN server. The URL will end ext4-combined.img.gz and will have the form:
http://downloads.arednmesh.org/snapshots/targets/x86/64/aredn-VERSION-x86-64-generic-ext4-combined.img.gz
So to download the image you might type:
wget http://downloads.arednmesh.org/snapshots/targets/x86/64/aredn-20230510-ca49646-x86-64-generic-ext4-combined.img.gz
Next we uncompress the image:
gunzip aredn-20230510-ca49646-x86-64-generic-ext4-combined.img.gz
You may see a message about trailing garbage. You can safely ignore this.
We now need to import the disk into our VM. When we created out VM we gave it the ID 100, so we do this using the following command:
qm disk import 100 aredn-20230510-ca49646-x86-64-generic-ext4-combined.img local
Change the 100 in the above command to match the ID of your VM.
Step 3: Making the VM bootable
We now have a VM with an AREDN disk, but the VM isn’t yet read to boot. We now need to make our newly imported disk the boot disk.
Back in the Proxmox UI, select the VM and then the Hardware tab, which should look something like this:
Notice the “Unused Disk 0” at the bottom - that’s the disk we just imported. Double tap on the “Unused Disk 0” row to bring up the following dialog:
And then just hit the ‘Add” button. The disk is now added.
The final step is to make it the boot disk. Select the VM again, but this time pick the “Options” tab, and then double click the “Boot Order” row.
On the displayed popup make sure to only select the SCSI disk, like this:
Hit OK.
Step 4: Booting
We’re ready to boot up the AREDN VM for the first time. Hit the Start button and and select the VM’s Console. Hit the RETURN key a couple of times after the text stops scrolling and the screen will look something like this:
Congratulations!
Step 5: Configuring AREDN
The version of AREDN that boots up is exactly like any other version of AREDN; it’s accessible on IP address 192.168.1.1 and must be configured through the AREDN UI.
Depending on the configuration of your Proxmox server, address 192.168.1.1 might not be the easiest address to work with. For example, my Proxmox server uses the subnet 192,.168.51.X. So before configuring AREDN for the first time, we will quickly change the default IP address by typing:
ifconfig br-lan 192.168.51.253
Replace the 192.168.51.253 IP address with whatever makes sense for your setup.
You can now open the AREDN UI using http://192.168.51.253 and set up the node as you normally would. Don’t forget the default AREDN username and password is “root” and “hsmm”.
