Grandstream Setup Instructions
Original instructions can be found as a pdf.
Accessing the Admin Webpage
To get to the management interface of the Grandstream phone, open a browser and enter the IP address of the phone into the top line. To determine the IP address of an operating phone, press the Nxt|Scr button just below the phone’s display. The IP address will be displayed.
When you enter the IP address of the phone into a browser you will be asked to log into the phone. The login credentials of a new phone are:
Login: admin
Pswrd: admin
Configuring Phone
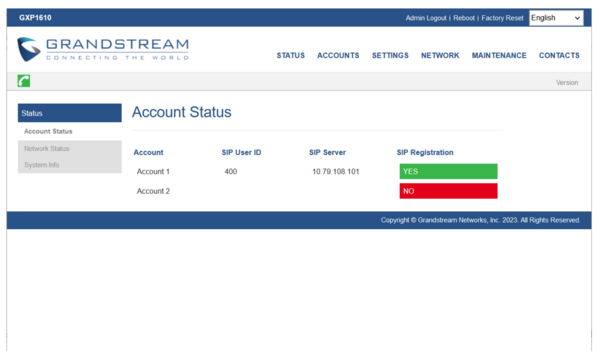
In the next section, you will be entering the IP address of the PBX (SIP Server) that will be serving the phone. Optionally, you can enter the IP address of a secondary or backup PBX. In the example below, the primary SIP Server is a 10.79.108.101. The port is 5160 if you are using the older chan_sip standard. The Grandstream phones only support chan_sip so use 5160 as the port. If a SIP Server uses the newer pjchan_sip standard, you will probably use port 5060.
Select Accounts > Account1 > General Settings
| Account Active | Yes | |
| Account Name | Enter the extension number you are going to use | |
| SIP Server | 10.79.108.101:5160 | Provided by the PBX administrator |
| Secondary SIP Server | 10.79.108.110:5160 | This can be blank if there is no secondary SIP server |
| Outbound Proxy | (Blank) | |
| Backup Outbound Proxy | (Blank) | |
| BLF Serve | (Blank) | |
| SIP User ID | Enter the extension number | |
| Authenticate ID | Enter the extension number | |
| Authenticate Password | This is the password for the PBX which the PBX admin provides | |
| Name | Use the Call sign (e.g. KM6ZJT) | |
| Voice Mail Access Number | *97 | |
| Account Display | Check User Name |
Select Save and Apply
